
$1,000–$2,500: U.S. Partition Wall Planning, Permits & Hiring

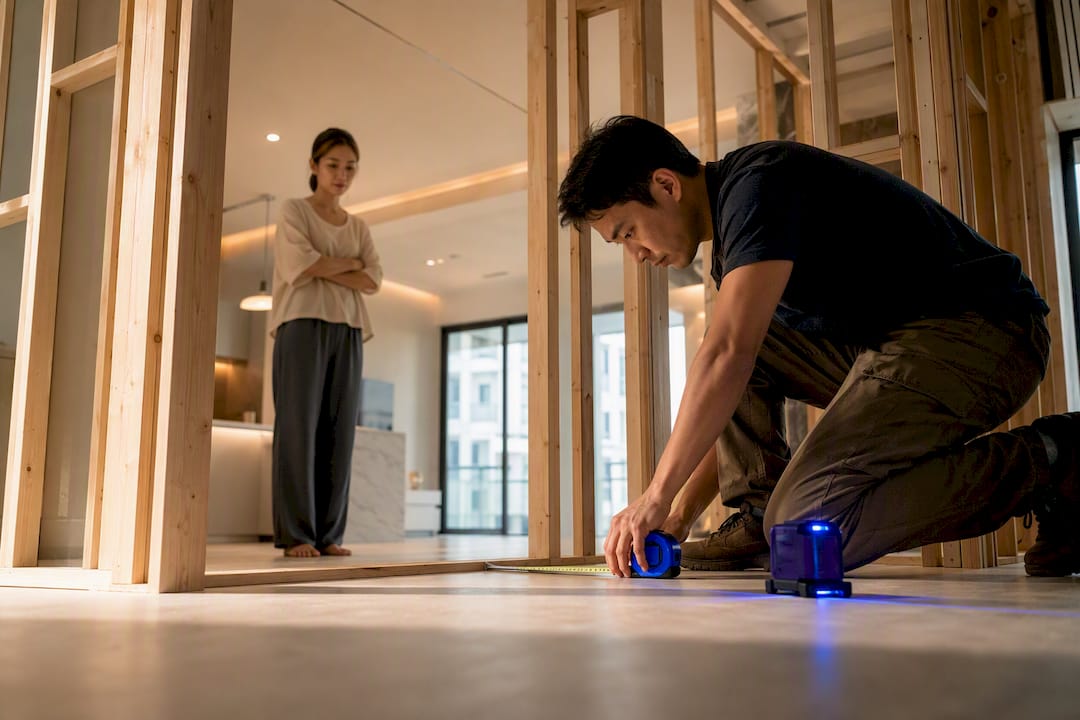
A non-load-bearing partition wall, sometimes called a stud wall or room divider, is the fastest way to reclaim a spare room, close off a home office, or split an oversized living area without touching your home’s structure. For most finished installations, hiring a licensed carpentry or renovation professional is the safer bet, since it protects you on permits, wiring, and inspection. DIY makes sense only for a short, simple wall when you already understand framing basics. Whatever route you choose, check permits first, locate your attachment points, and plan electrical before drywall goes up.
TL;DR:
Most permit requirements apply when creating new rooms or modifying electrical, plumbing, or exterior walls, making professional assistance advisable.
Using 16-inch stud spacing with drywall up to 5/8 inch thick prevents flexing if increased spans are involved or soundproofing is required.
Material costs for an 8x10 partition wall vary from $80 to $500, while professional installation typically costs $1,000 to $2,500, depending on finishes.
Temporary framing steps include precise layout marking, stud measurement, and secure attachment to ceiling, wall, and floor points to avoid failure.
DIY is suitable for simple, short partitions without openings or electrical work; complex projects benefit from licensed carpentry due to code and safety considerations.
Table of Contents
What Is a Partition Wall HDB Project, and When Should You Build One?
Design and Material Choices: Studs, Finishes, and Acoustic Options
Planning and Permits: A U.S.-Focused Preconstruction Checklist
How to Build a Partition Wall: Framing, Openings, and Finishing
Monarch Carpentry’s Design-Build Perspective on Partition Walls
What Is a Partition Wall HDB Project, and When Should You Build One?
A partition wall is a non-load-bearing interior wall built to divide space, not to hold up your house. Unlike a load-bearing wall, it carries no roof or floor weight above it, which is why it can go up (or come down) without an engineer redesigning your framing.
Homeowners and small-business owners typically reach for one to:
Split an oversized bedroom into two, or carve out a nursery
Wall off a home office from an open living area
Build a closet, pantry, or storage nook
Divide a commercial floor into separate work zones or fitting rooms
Before you frame anything, confirm the existing wall you’re working near isn’t load-bearing. Check the attic or basement directly above and below it. If joists run perpendicular to the wall and rest on it, or if it sits over a support beam, stop and bring in a structural engineer. Most U.S. jurisdictions require a permit once you’re creating a new room, adding a door opening in an exterior wall, or touching electrical and plumbing lines, so a call to your local building department belongs at the top of your to-do list, not the bottom.
Design and Material Choices: Studs, Finishes, and Acoustic Options
Wood studs, typically 2×4s, remain the standard for residential partition framing because they’re forgiving to cut, nail, and adjust on site. Metal studs cost more up front and demand different fastening techniques, but they resist warping and work well in commercial fit-outs where long, straight runs matter more than easy field adjustments.
Your finish choice changes the wall’s personality entirely:
Standard drywall for a clean, paintable surface at the lowest cost
Decorative paneling or shiplap for texture without a full remodel
Glass panels for a partition that divides space without blocking light
Built-in carpentry, like a partition doubling as a bookshelf or storage wall
Soundproofing is where budgets diverge fastest. Batt insulation between studs, a resilient channel, or a double layer of drywall each add noise control at increasing cost, and they’re worth the investment for a home office, nursery, or shared-wall commercial unit. Trade sources note that switching to 24-inch stud spacing to save lumber often requires thicker, 5/8 inch drywall to keep the wall from flexing under normal pressure.
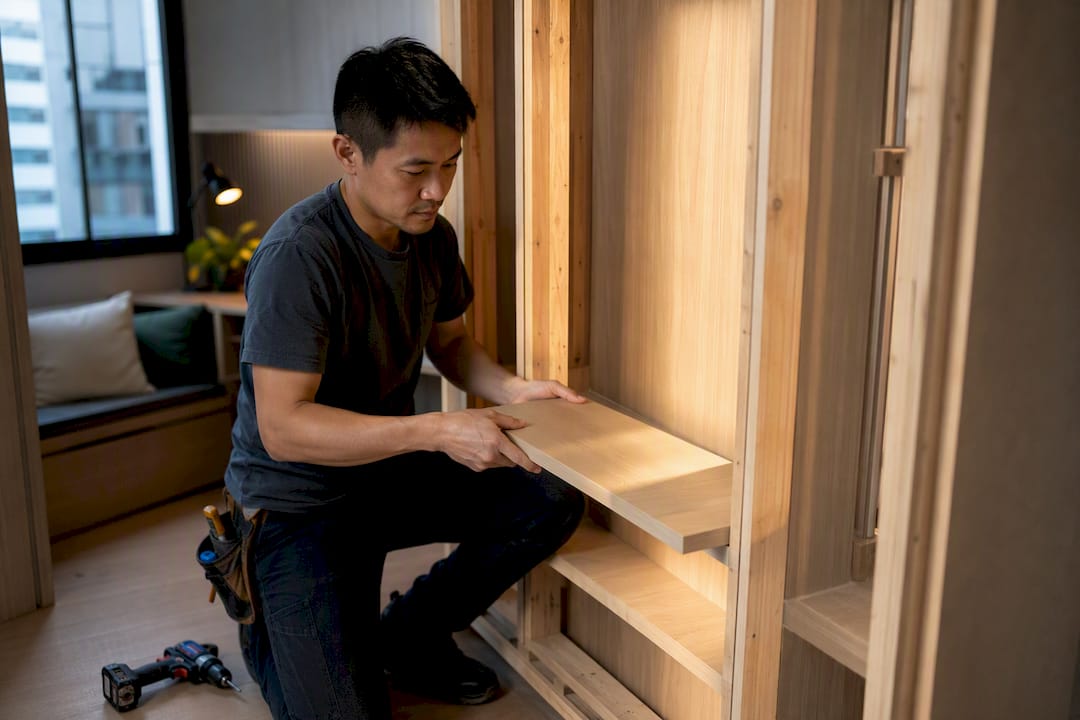
Pro Tip: If you want a partition that does double duty, ask your carpenter to integrate shallow built-in shelving or a media niche into the frame before drywall goes up. Retrofitting storage later is far more expensive than building it in from the start.
Planning and Permits: A U.S.-Focused Preconstruction Checklist
Permit rules vary by city and county, but a few triggers show up almost everywhere: creating a new bedroom, adding a door opening, or running new electrical or plumbing. Skipping this step is the single most common reason DIY partition projects stall at resale inspection.
Run through this checklist before you cut a single stud:
Call your local building department to confirm whether your specific project needs a permit
Verify the wall you’re removing or building near isn’t load-bearing
Locate studs, joists, and solid attachment points using a stud finder or by tapping and measuring from a known reference
Determine your floor type. Concrete slabs need masonry anchors or Tapcon screws; wood subfloors take standard construction screws
Loop in your electrician and plumber early if the new wall crosses any existing runs
A partition wall needs to be secured to three solid points: a wall stud, a ceiling joist, and a stable floor substrate. Getting any one of these wrong is why most DIY partition failures trace back to poor attachment planning rather than bad framing lumber. Many municipalities also check that your new wall doesn’t box in hidden HVAC, electrical, or plumbing runs, so confirm what’s behind existing drywall before you finalize your layout.
How to Build a Partition Wall: Framing, Openings, and Finishing
Here’s the sequence a professional crew follows, and the one you should follow if you’re building it yourself:
Mark the layout. Use a laser level or chalk line to snap the wall’s exact position on the floor, then transfer those marks to the ceiling with a plumb bob or laser.
Cut the plates. Measure and cut your top and bottom plates to length, then lay them side by side to mark stud locations.
Space your studs. Standard spacing is 16 inches on center; 24 inches on center saves lumber but calls for thicker drywall or added blocking to prevent bounce.
Frame door openings. Install king studs at full height, jack studs to support the header, and a header spanning the opening. Most non-load-bearing partitions only need a single top plate, since there’s no structural load to distribute.
Assemble the frame. Build the wall flat on the floor and tilt it into place, or build it stud-by-stud in position if space is tight.
Secure top and bottom. Anchor the bottom plate to the subfloor (Tapcon screws for concrete, construction screws for wood) and fasten the top plate to ceiling joists or added blocking.
Handle parallel joists. If your ceiling joists run parallel to the new wall instead of across it, add cross-blocking from above or open the ceiling drywall to tie in properly.
Rough in electrical and plumbing. Set outlet boxes with correct NEC setbacks so drywall screws don’t puncture wiring, and add blocking anywhere you plan to mount cabinets or fixtures later.
Hang drywall, tape, and finish. Apply joint compound in thin coats, sand between layers, and prime before paint.
Pro Tip: Dry-fit your door header and studs before nailing anything permanently. It’s far easier to adjust a stud that’s a quarter-inch off than to tear out drywall after the fact.
Keep a printed layout diagram on site for inspectors and trades
Photograph the open frame before closing it up with drywall, in case you need to locate wiring later
Costs and Timeline: Realistic U.S. Ranges
Material costs alone for a basic 8x10 partition wall typically run $80 to $500, depending on stud type and drywall grade. Hiring a contractor for the same wall generally costs $1,000 to $2,500 once labor, disposal, and finish work are included.
A few line items push costs up quickly:
Adding a door or window opening, which requires headers and extra framing
Soundproofing upgrades like insulation or double-layer drywall
New electrical outlets, switches, or lighting
Permit and inspection fees, which vary widely by municipality
Timeline runs faster than most people expect once permits clear. A straightforward partition typically takes one to three days to frame, rough in, and drywall, plus curing and paint time. Add a week or more if you’re waiting on permit approval or scheduling an electrician. If you’re budgeting for a broader renovation alongside the partition, it helps to see how carpentry costs fit into a full remodel before committing to finishes.
DIY vs. Hiring a Pro: Decision Checklist
DIY makes sense for a simple, short partition in an open area with no doors, no wiring, and easy joist access. Once you’re adding openings, running electrical, or working near plumbing, licensed trades reduce your risk considerably, particularly around code compliance and resale inspections.
Ask any carpenter or general contractor these questions before signing anything:
Are you licensed and insured for residential or commercial carpentry work in this state?
Can you provide references or photos from at least three completed partition projects?
What’s your estimated timeline from contract signing to final inspection?
Who pulls the permit, you or me?
What’s included in your quote: materials, labor, disposal, touch-up paint?
Do you warranty the work, and for how long?
How do you handle unexpected issues, like discovering plumbing behind an existing wall?
What’s your payment schedule?
Pro Tip: Never pay more than a modest deposit upfront. A contractor demanding full payment before work begins is the clearest red flag in residential carpentry.
Getting quotes from up to three professionals before choosing one gives you a real basis for comparison on both price and credentials.
Monarch Carpentry’s Design-Build Perspective on Partition Walls
At Monarch carpenters, our in-house designers and carpenters work side by side from the first sketch to the final coat of paint, which means a partition wall never gets treated as an afterthought bolted onto someone else’s floor plan. We balance craft, cost, and finish by having the same team that draws the concept also build it, closing the gap where miscommunication usually drives up change orders. Clients consistently tell us our proposals are transparent and our pricing stays reasonable.
— Seth Wayne
Work With Monarch Carpentry: Request a Consultation
If you’ve read this far, you already know a partition wall done right takes more than a stud gun and a Saturday afternoon. Monarch carpenters is the alternative to guessing your way through framing, permits, and finish decisions alone. Our design-build team handles the layout, the carpentry, and the project management under one roof, so you get a wall that’s structurally sound and genuinely well designed, not just functional.

To get a quote moving, have three things ready: rough room measurements, a few photos of the space, and any finish preferences (drywall, paneling, built-in storage, or glass). We’ll take it from there. For a sense of how we approach layout decisions before a single wall goes up, our space planning guide walks through the thinking behind smart divisions. When you’re ready, start your project with Monarch carpenters and get a proposal built around your actual space, not a generic template.
Sources
FAQ
What Is a Partition Wall in a Home Renovation?
A partition wall is a non-load-bearing interior wall built to divide space, such as splitting a bedroom or closing off a home office, without supporting any structural weight from above.
Do I Need a Permit to Build a Partition Wall?
Often, yes, especially if you’re creating a new room, adding a door, or touching electrical or plumbing lines; check with your local building department before framing.
What Stud Spacing Should I Use for a Partition Wall?
Sixteen inches on center is the standard, though 24 inches on center works if you upgrade to 5/8 inch drywall or add blocking to prevent flexing.
How Much Does It Cost to Build a Partition Wall?
Material-only costs for a basic 8x10 wall typically run $80 to $500, while hiring a contractor generally runs $1,000 to $2,500 depending on finishes and openings.
Should I DIY My Partition Wall or Hire a Professional?
DIY works for a simple wall with no doors or wiring; once electrical, plumbing, or code compliance enters the picture, hiring a licensed professional like Monarch carpenters reduces your risk considerably.
Recommended
Comments