
Kids Room Carpentry Design Guide for Parents

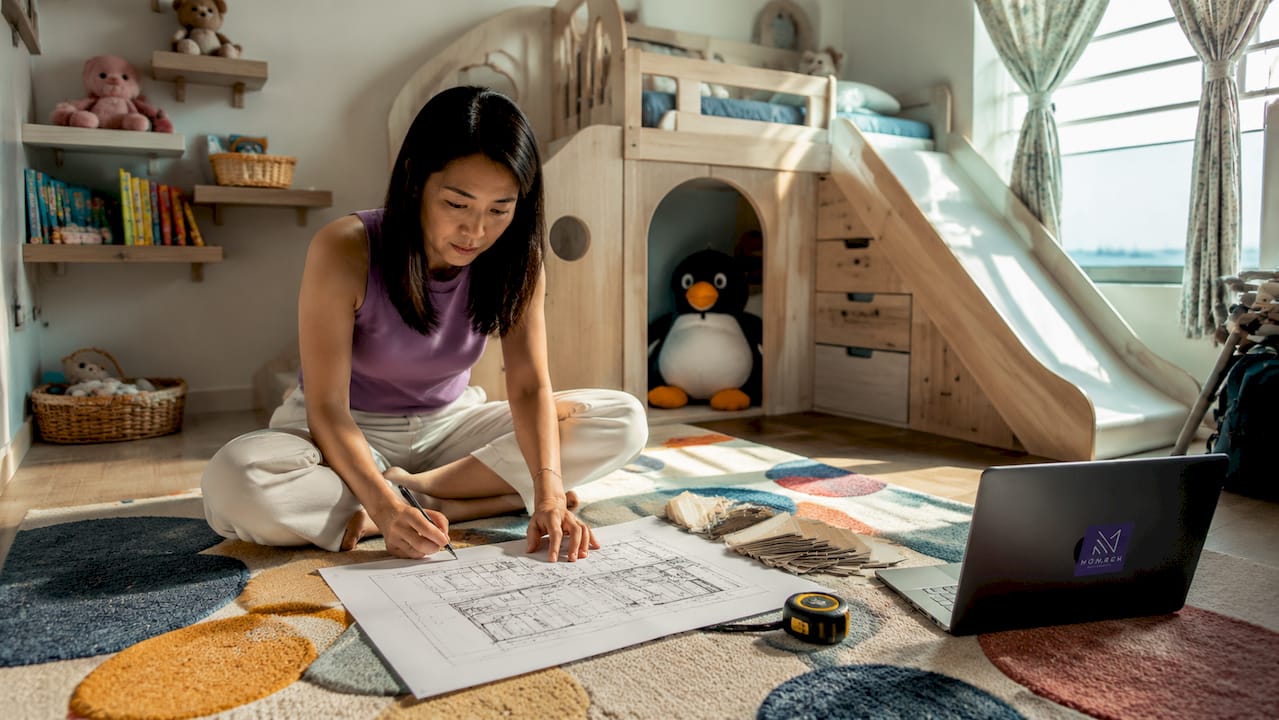
TL;DR:
Kids room carpentry design involves creating custom woodwork that adapts to a child’s evolving needs and space. It emphasizes layering functions, modularity, and safety to maximize usability and growth potential. Proper planning, accurate measurements, and durable materials ensure the furniture lasts and remains functional through years of use.
Kids room carpentry design is the process of planning and building custom woodwork that optimizes space, safety, and functionality tailored to children’s evolving needs. Unlike stock furniture, bespoke carpentry fits your child’s exact room dimensions, behavioral patterns, and growth stages. This kids room carpentry design guide covers the core principles, materials, tools, and step-by-step methods that parents need to create durable, multifunctional spaces. Whether you are working on a first home or redesigning an existing bedroom, custom woodwork delivers results that flat-pack furniture simply cannot match.
What are the core design principles for kids room carpentry?
Layering functions is the single most effective principle in children’s room woodworking. It means one piece of furniture serves multiple needs, such as sleep, study, and storage, within the smallest possible footprint. A loft bed with a built-in desk below and drawers along the side is a classic example. That one unit replaces three separate pieces of furniture and frees up floor space for play.
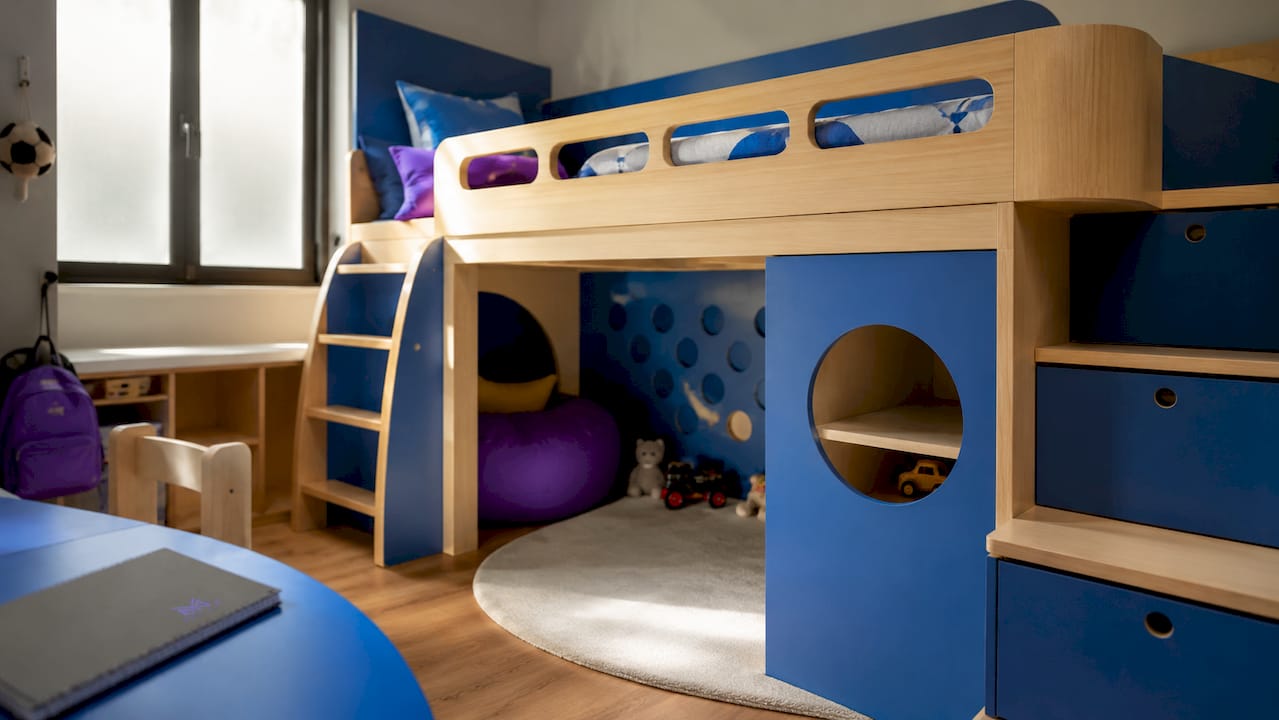
Modularity is the second principle every parent should understand. Modular components shift from toddler-friendly configurations to teen-appropriate layouts without requiring a full rebuild. A low bookshelf unit can be repositioned as a bedside cabinet when the child grows taller. This approach saves money and reduces renovation disruption over time.
Safety-first structural design is non-negotiable. Every built-in unit must be anchored to wall studs, not just drywall. Sharp corners should be rounded or capped, and all finishes must be non-toxic and certified safe for indoor residential use. These are not optional upgrades. They are the baseline for any responsible children’s room woodworking project.
Pro Tip: Design with a 10-year horizon. Ask yourself whether the furniture will still work when your child is 14, not just when they are 4. That single question eliminates most design regrets.
Here are the key design layers to plan before any cutting begins:
Sleep zone: Loft beds or platform beds with integrated storage underneath
Study zone: Built-in desks with cable management and adjustable shelving
Storage zone: Drawer towers, wardrobe units, and under-bed pull-outs
Play zone: Open floor space preserved by keeping furniture against walls
Display zone: Low-height open shelves for books, toys, and personal items
How do you plan and execute a kids room carpentry project?
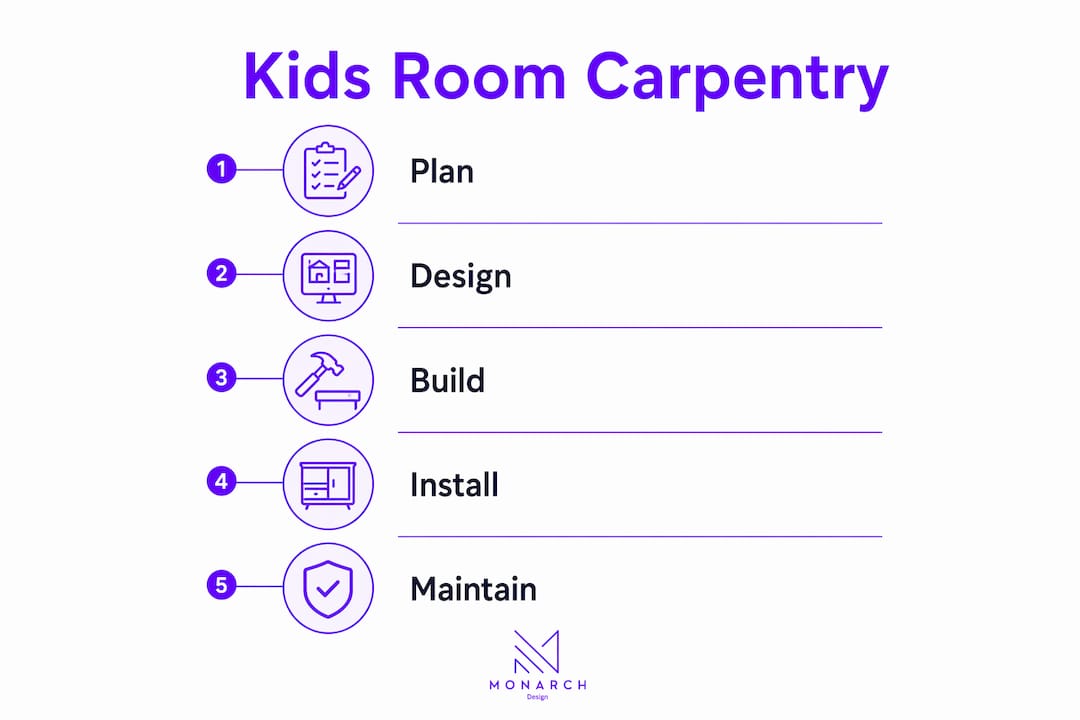
The custom design-and-build process follows three key stages: initial consultation, site assessment, and design proposal refinements before cutting any material. Skipping any stage creates costly errors. A piece built without accurate site measurements will not fit flush against an out-of-plumb wall or an irregular ceiling line.
Follow this sequence for a well-executed project:
Define your priorities. List the activities your child does in the room: sleeping, reading, homework, creative play. Rank them by frequency. The most-used function gets the most accessible position in the design.
Measure the room completely. Record ceiling height, window sill heights, door swing arcs, baseboard depths, and any architectural protrusions. These measurements drive every design decision.
Identify structural constraints. Locate wall studs using a stud finder. Note any electrical outlets, light switches, or HVAC vents that the carpentry must work around.
Create a scaled floor plan. Even a hand-drawn sketch with accurate dimensions prevents expensive surprises during installation.
Select materials and finishes. Choose wood thickness, hardware, and surface finishes before finalizing the design. Material choices affect weight, cost, and build method.
Build and install in sequence. Assemble carcasses off-site where possible. Install wall cleats first, then hang or set units, then add doors and drawers last.
Project Stage | Key Action | Common Mistake to Avoid |
Consultation | Define functions and priorities | Skipping the child’s input on needs |
Site assessment | Full room measurement and stud mapping | Measuring only length and width |
Design proposal | Material samples and scaled drawings | Finalizing design before seeing samples |
Construction | Off-site carcass assembly | Building everything on-site in tight spaces |
Installation | Shimming, anchoring, and reveal adjustment | Skipping shimming on uneven floors |
Carpenters use shims during installation to compensate for uneven walls and floors, ensuring smooth drawer slide operation and flush cabinetry reveals. This step is where amateur builds most often fail. A unit that looks perfect in the workshop can sit crooked on an uneven floor, causing doors to swing open or drawers to bind.
What tools and materials produce the most durable kids furniture?
The right materials make the difference between furniture that lasts three years and furniture that lasts fifteen. Wood panels between 1/2 inch and 3/4 inch thick are the standard for drawer boxes and face frames in children’s furniture. Thinner panels flex under load and fail at joints. Thicker panels add unnecessary weight without improving strength.
For joinery, three methods stand above the rest in children’s room woodworking:
Mortise and tenon: The strongest traditional joint for frame-and-panel construction. Used in wardrobe frames and bed structures that take daily physical stress.
Dovetail joints: Excellent for drawer boxes. The interlocking geometry resists pulling forces, which children apply constantly when yanking drawers open.
Pocket screws with a Kreg pocket hole jig: The fastest method for face frame assembly and cabinet carcass construction. Strong enough for most kids’ room applications when combined with wood glue.
A well-stocked toolkit for this work includes a Kreg pocket hole jig, a dado saw, a router for edge profiles and dadoes, a quality combination square, and a reliable laser level. These tools reduce measurement errors and produce cleaner joints than hand-fitting alone.
Pro Tip: Choose a satin or matte finish over high-gloss. Matte surfaces hide fingerprints and minor scuffs far better, which means the furniture looks good longer with less cleaning.
Finishes must be durable, non-toxic, and able to mask fingerprints and scrapes while maintaining aesthetics over time with minimal upkeep. Water-based polyurethane and low-VOC lacquers meet these requirements and are widely available. Solvent-based finishes off-gas harmful compounds for weeks after application, making them unsuitable for children’s bedrooms.
For small-space interior design in urban apartments, lightweight engineered wood like birch plywood offers the best balance of strength, weight, and workability. Solid hardwood is beautiful but heavy, and it moves with humidity changes in ways that can stress joints over time.
What are the most common challenges in customizing a kids room?
Uneven walls and floors are the most frequent problem in residential carpentry. Most homes, especially older ones, have walls that are not perfectly plumb and floors that are not perfectly level. Shims and cleats are the standard solution for achieving precise installation on unlevel surfaces. Without them, built-in units rock, doors gap unevenly, and the entire installation looks amateurish.
Managing door reveals is the second most common challenge. When you install a cabinet next to an existing door frame, the gap between the cabinet edge and the door casing must be consistent. Using yardsticks or 1x2 cleats with shims for flush fit is a proven method for achieving a built-in look with modular units. The goal is a gap so consistent it looks intentional.
Here are the most common challenges parents and carpenters face, along with practical solutions:
Irregular ceiling heights: Use scribe molding along the top of cabinets to fill gaps between the unit and the ceiling without rebuilding the unit.
Radiators and HVAC vents: Design open grille panels or removable sections directly into the carpentry to maintain airflow.
Electrical outlets inside cabinet runs: Recess outlets into the back panel of the unit or relocate them before installation begins.
Child-proofing hardware: Use soft-close hinges and drawer slides on every unit. They prevent finger pinching and reduce the noise of slammed doors.
Balancing aesthetics with durability: Choose painted MDF for doors and drawer fronts where a smooth, uniform color is the goal. Use plywood for structural carcasses where strength matters most.
Custom carpentry can incorporate playful features directly into room architecture, such as reading nooks with curtains, portholes, or slides. These elements add genuine child-friendly charm without sacrificing structural integrity. A reading nook built into the end of a loft bed, for example, uses space that would otherwise be dead wall area. For deeper ideas on storage optimization, bespoke built-ins consistently outperform freestanding furniture in small rooms.
Key Takeaways
Successful kids room carpentry design combines layered functions, modular construction, and safety-first material choices to create furniture that grows with the child and maximizes every square foot.
Point | Details |
Layer functions from day one | Design each unit to serve sleep, study, and storage simultaneously to free up floor space. |
Use 1/2–3/4 inch thick wood panels | This thickness withstands kids’ daily physical stress on drawer boxes and face frames. |
Anchor every unit to wall studs | Stud attachment prevents tipping and meets residential safety standards for children’s furniture. |
Plan for growth with modular design | Modular components adapt from toddler to teen without requiring a full rebuild. |
Shim every installation | Shimming corrects uneven walls and floors, producing flush reveals and smooth-operating drawers. |
What I have learned from years of watching kids room carpentry projects
The parents who get the best results are the ones who resist the urge to finalize the design too quickly. Every room has at least one surprise: a wall that is 2 inches out of plumb, a floor that drops half an inch across the room, or a window that sits lower than the architectural drawings show. Rushing past the site assessment stage is the single most expensive mistake I have seen repeated across project after project.
The second thing I have noticed is that parents consistently underestimate how physical children are with their furniture. A drawer that works perfectly for an adult will be yanked, kicked, and climbed on by a seven-year-old within the first week. Dovetail drawer boxes and full-extension drawer slides are not luxury upgrades in a kids’ room. They are the minimum spec for furniture that will survive more than two years of real use.
The design principle that surprises parents most is modularity. They come in expecting to build something permanent and leave realizing that the smartest investment is furniture that can be reconfigured. A low bookshelf that becomes a bedside table at age 10 and a desk pedestal at age 14 delivers three times the value of a fixed unit. That kind of thinking is what separates a well-designed kids’ room from one that needs a full renovation every five years.
— Seth Wayne
Monarch carpenters: bespoke kids room carpentry in Singapore
Parents across Singapore consistently praise Monarch carpenters for delivering custom kids room carpentry that combines thoughtful design with modest, transparent pricing. The studio’s in-house team of designers and carpenters works directly with families to translate room measurements, lifestyle needs, and growth plans into built-in furniture that fits perfectly and lasts for years.

Monarch carpenters handles every stage from initial consultation through on-site installation, including shimming, stud anchoring, and finish work. Families who want a kids room carpentry consultation with a team known for quality craftsmanship and fair pricing can reach Monarch carpenters directly through the studio website. The feedback from clients reflects what the work delivers: spaces that are beautiful, practical, and built to last.
FAQ
What is kids room carpentry design?
Kids room carpentry design is the planning and building of custom woodwork, such as loft beds, built-in desks, and storage units, tailored to a child’s room dimensions, safety requirements, and growth stages.
How thick should wood be for kids’ furniture?
Wood panels for drawer boxes and face frames should be 1/2 to 3/4 inch thick. This thickness withstands the physical stress children apply to furniture through daily use.
What joinery method is best for kids’ room drawers?
Dovetail joints are the strongest option for drawer boxes in children’s furniture because the interlocking geometry resists the pulling forces kids apply when opening drawers forcefully.
How do carpenters handle uneven walls in kids’ rooms?
Carpenters use shims and cleats to level and plumb built-in units against uneven walls and floors, producing flush reveals and smooth-operating doors and drawers.
Can kids room carpentry grow with my child?
Yes. Modular carpentry design allows components to shift from toddler-friendly to teen-appropriate configurations without a full rebuild, making it a long-term investment rather than a short-term fix.
Recommended
Comments