
DIY First Built in Bookshelf for Singapore Homes, Save a Few Hundred

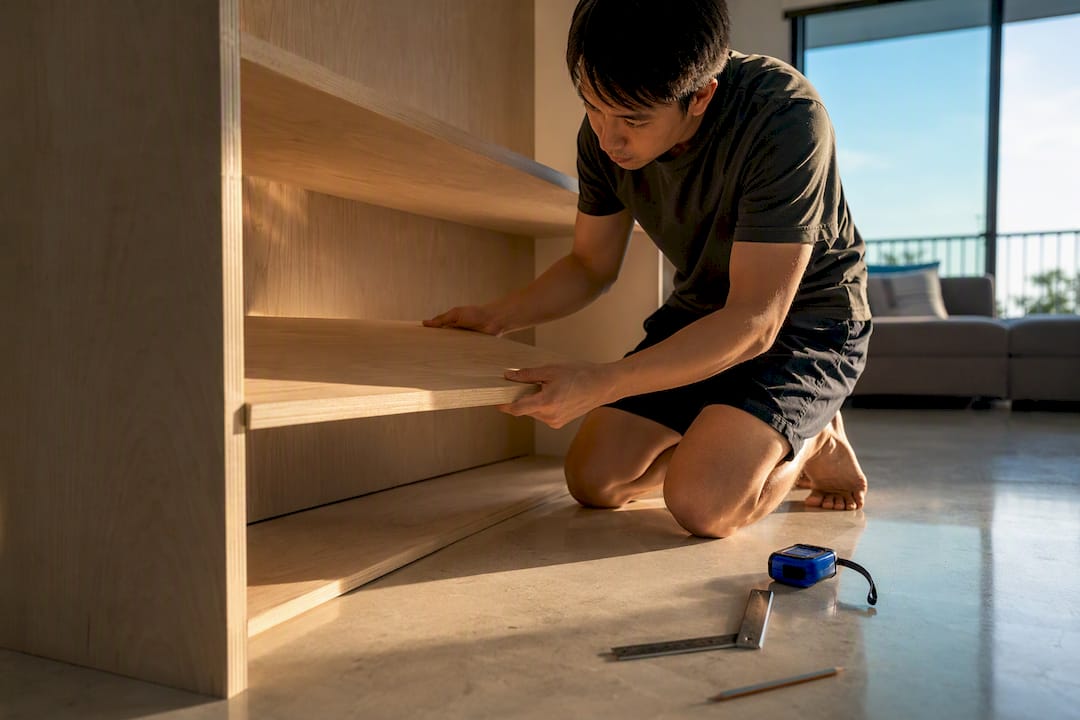
A built-in bookshelf is a fixed shelving unit anchored directly to your wall studs, ceiling, and floor, designed to look like part of the room’s architecture rather than furniture you could roll out the door. Most standard alcoves are well within reach of a confident DIYer with a table saw and a weekend. Full-wall libraries, curved trim, or structural modifications call for a professional. Either way, start by measuring your space and picking a style before you buy a single board.
TL;DR:
Building a built-in bookshelf requires precise measurements and anchoring into studs to ensure safety and stability over time.
Shelving depth should match typical book sizes, with wider shelves necessary only for oversized items, to optimize space and reduce bulkiness.
Material choices like plywood and MDF balance cost, strength, and finish quality, with tools like a pocket-hole jig and a level essential for accurate assembly.
Proper finishing involves matching trim details, caulking seams, and waiting for paint to cure before loading, to achieve a seamless, high-end look.
Complex designs such as full-wall installations or curved walls generally need professional help for proper structural support, alignment, and aesthetic cohesion.
Table of Contents
Built-In Bookshelf Ideas and Styles to Match Your Room
The right built-in bookshelf ideas start with the bones of your room, not a Pinterest board. A shallow alcove between a fireplace and a wall practically begs for flanking bookcases, while a blank wall in a den can support a full wall-to-wall bookcase that reads like a private library. If you’ve got a window with good light, building shelving around it, with a window seat tucked underneath, turns dead space into the best seat in the house.
Architectural cues do a lot of the deciding for you. Crown molding, tall baseboards, and door casing all set a benchmark your new shelving needs to match or the whole wall looks bolted together instead of built in. A 9-foot ceiling with existing picture-rail trim wants shelves that stop at the same height as your door frames. A room with no trim at all gives you more freedom, but also more responsibility to add casing so the unit doesn’t look like an afterthought.
Popular configurations include:
Alcove flanking units on either side of a fireplace, chimney breast, or window, using the recessed depth you already have
Full-wall libraries that run baseboard to ceiling and wall to wall bookcase edge to edge, often the most dramatic and most expensive option
Cabinets below, open shelving above, which hides clutter and displays only what you want seen
Window-seat integration, combining a bench with flanking shelving for a reading nook
If your budget is tight or you’re renting, a freestanding unit pushed against the wall and trimmed out with matching baseboard and crown can mimic a true built-in bookcase for a fraction of the labor. It won’t match a real built-in bookcase idea for permanence, but it’s a smart middle step if you want to test the look before committing to a full build. For a broader look at how built-ins function as architecture rather than furniture, Monarch carpenters’s guide to built-in furniture breaks down what separates a genuine built-in from a dressed-up cabinet.
Measuring and Planning: Dimensions, Bay Widths, and Shelf Depth
Get the numbers right before you cut anything, because a built-in bookshelf that’s off by an inch shows on every shelf line for years. Standard bookcase dimensions use section widths commonly accepted as manageable per bay, which keeps shelf spans short enough to resist sagging without needing extra support in the middle. Standard bookshelf dimensions research confirms these widths as the most common across both retail and custom units.
Shelf depth for books typically ranges near standard depths for most hardcovers and paperbacks, but if you’re planning to store oversized art books or woven baskets, deeper shelves are recommended. Going deeper than that without a real reason just wastes floor space and makes the unit feel bulky against the wall.
Spacing matters as much as depth. Adjustable shelves generally require a minimum vertical spacing, while fixed shelves designed for periodicals benefit from slightly larger spacing. A tall section with common spacing yields multiple shelves, which is useful for calculating how many linear feet of shelving you’ll actually get.
Before you finalize measurements, check for:
Outlets, switches, and vents that might sit inside your planned footprint
Baseboard and trim thickness, which eats into your usable depth if you’re building tight to the wall
Uneven floors, which almost always exist in older homes and require scribe strips to hide gaps
Ceiling height variance from one end of the wall to the other, common in homes over 20 years old
If you’re also planning closet or wardrobe storage nearby, the layout logic is similar. Monarch carpenters’s guide to built-in wardrobe design covers capacity-first planning that applies just as well to bookshelf bays.
Materials, Tools, and Cut-List Basics
Your material choice decides how the whole project looks, feels, and holds up. Plywood is the workhorse for built-in bookcase ideas because it’s stiffer than MDF at the same thickness and takes paint well when edge-banded properly. MDF is cheaper and sands to a glass-smooth finish, but it sags more under load and swells if it ever gets wet. Solid wood looks the best and costs the most, and it’s overkill for shelves you’re going to paint anyway.
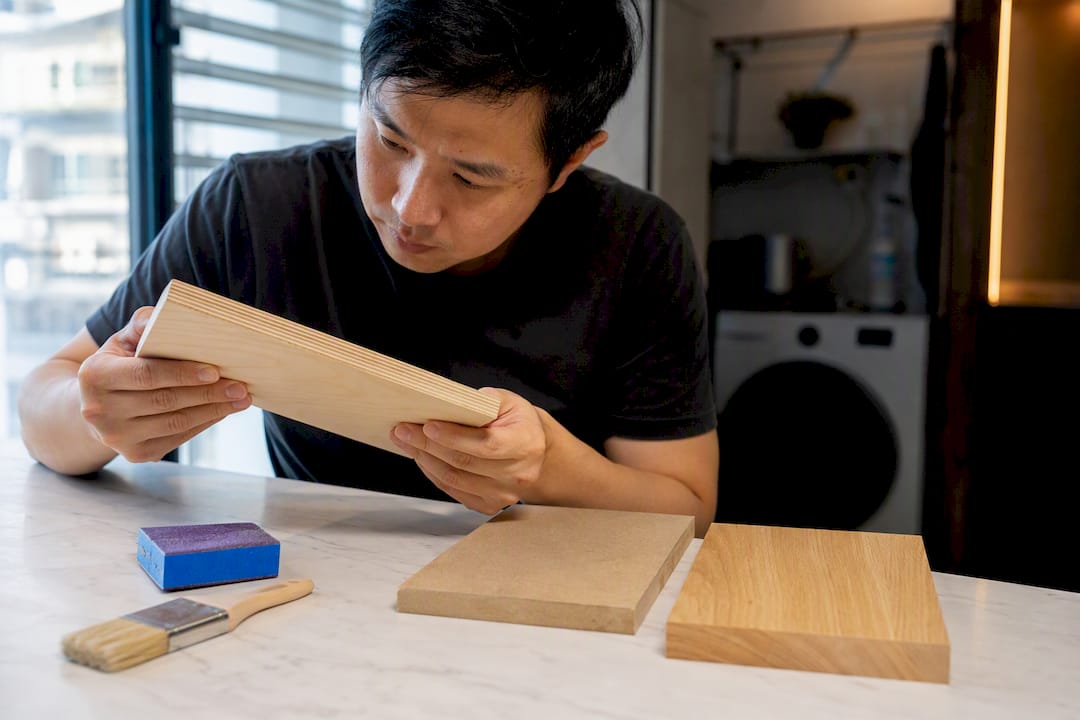
For shelf thickness, about three-quarter-inch material is commonly used for standard shelf widths. Adding a front lip, either a strip of solid wood or a doubled-up edge, meaningfully increases stiffness and cuts down on visible sag over time, according to guidance on shelf spacing and sag. Wider spans often benefit from center supports or vertical dividers spaced appropriately to reduce sag, even if hidden behind books.
Tools you’ll need:
Table saw or circular saw with a straight-edge guide
Pocket-hole jig (a Kreg jig is the standard here)
Level, stud finder, and a good tape measure
Brad nailer or finish nailer
Caulk gun and paintable wood filler
A typical cut list for a standard bay includes side panels, top and bottom panels, a back panel, and several adjustable shelves cut slightly smaller than interior width for clearance. Kreg Tool’s built-in bookshelf plan publishes a complete cut list with pocket-hole joinery callouts, which removes the guesswork on part counts if this is your first build.
Build Overview: Step-by-Step Workflow and Free Plans
Building a built-in bookshelf follows a predictable sequence once your measurements and cut list are locked in. Here’s the workflow most successful DIY builds follow, adapted from published tutorials and pocket-hole assembly guides.
Cut all carcass pieces (sides, top, bottom, shelves) to your final dimensions, double-checking against your plan before any glue or screws go in.
Assemble the box using pocket-hole joinery or dado joints, keeping everything square as you go. A carcass that’s out of square by even a quarter inch will show in every shelf gap.
Locate and mark wall studs with a stud finder, then dry-fit the unit against the wall to confirm it sits flush and plumb.
Anchor the unit to studs, not just drywall anchors, using construction screws driven through the back panel or a ledger strip. This step is the difference between a bookshelf that’s safe for decades and one that’s a tip-over risk.
Install face frame and trim to match existing baseboard and crown, mitering corners carefully so seams disappear.
Caulk every seam between the unit and the wall, and between trim pieces, before painting. This single step is what makes a built-in look built rather than installed.
Prime and paint, ideally painting shelf pieces before final assembly where practical, since it’s far easier to get an even coat on a flat piece than inside an assembled box.
Let paint cure fully before loading shelves with books. Some builders wait up to 10 days for a full cure on painted MDF or plywood, based on Young House Love’s build documentation, even though it’s dry to the touch much sooner.
If you want full diagrams and exact cut dimensions rather than a general sequence, Kreg Tool’s free built-in bookshelf plan walks through carcass and face-frame assembly step by step, and Remodelaholic’s free plans include cut sheets plus advice for supporting wider spans and adding doors to lower cabinets.
The most common pitfalls are shelf sag from underestimating span length, anchoring into drywall instead of studs, and rushing the paint step before the caulk has fully skinned over, which cracks the seam within months.
Cost and Time: Build vs. Buy
A basic DIY built-in bookshelf, one or two bays using plywood and stock hardware, typically runs a few hundred dollars in materials plus tool costs if you’re starting from scratch. A full-wall custom install with a professional design-build team costs considerably more, but you’re paying for structural know-how, seamless trim work, and a finish that survives daily use without callbacks.
Pro Tip: If you’re deciding where to spend versus save, put your money into face-frame and trim quality. Buyers and guests notice trim lines and gaps long before they notice what species of plywood is behind the paint.
Features that raise cost fastest:
Glass or paneled doors on lower cabinets
Built-in lighting, especially puck lights or LED strips wired into shelving
Curved or arched top details
Integrated ladder hardware for tall wall-to-wall bookcase runs
Built-ins add lasting value that freestanding furniture doesn’t match, largely because they read as permanent architecture rather than movable inventory, a point echoed in Happy DIY Home’s built-in bookshelf guide. A short decision checklist: if your walls are straight, studs are accessible, and your design is a simple rectangular bay, DIY. If you’re dealing with vaulted ceilings, curved walls, or a full-room library, hire a pro.
Finishing, Lighting, and Styling Built-Ins
A satin or semi-gloss paint sheen holds up best on shelving that gets touched constantly, since flat paint scuffs and shows fingerprints faster. Painting shelf pieces before final assembly, where practical, gives you a smoother finish than trying to cut in around an installed carcass.
Trim is what sells the illusion. Match your baseboard height and crown profile exactly, and use flexible caulk on every seam where the unit meets the wall.
Add low-profile LED strip lighting under upper shelves to highlight display items without glare
Mix vertical and horizontal book stacks to break up visual monotony
Leave roughly 20% of shelf space open for decor, plants, or breathing room
Group books by color or height on at least one shelf for a designed, not cluttered, look
When to Hire a Pro: Monarch Carpenters’s Approach
Some projects are squarely a professional’s job: full-wall runs that require structural blocking, integrated cabinetry with hidden hidden bookshelf features like pull-out drawers or concealed doors, and complex trim work matching existing millwork throughout a home. If your walls aren’t straight or you want a design that flows into adjoining rooms, that’s when a design-build studio earns its fee.
Monarch carpenters approaches every built-in project the same way we approach bespoke carpentry generally: designers and carpenters working side by side with the client from first sketch to final install, so the piece fits the room instead of the room adapting to a stock size. Homeowners consistently tell us our custom work delivers a high-end look without the high-end price tag, which is exactly the balance we aim for.
When getting quotes from any carpentry professional, ask:
How will the unit be anchored, and to what?
What’s included in the price, trim, paint, hardware?
Can you see photos of similar past projects?
What’s the expected timeline from design to install?
Common Challenges and Troubleshooting During Installation
Uneven walls are the most common surprise. Even homes built within the last decade can have a quarter inch of bow across a 10-foot run, which throws off tight face-frame fits. The fix is scribing, shaving a thin strip off the back edge of side panels so they hug the wall’s actual contour instead of fighting it.
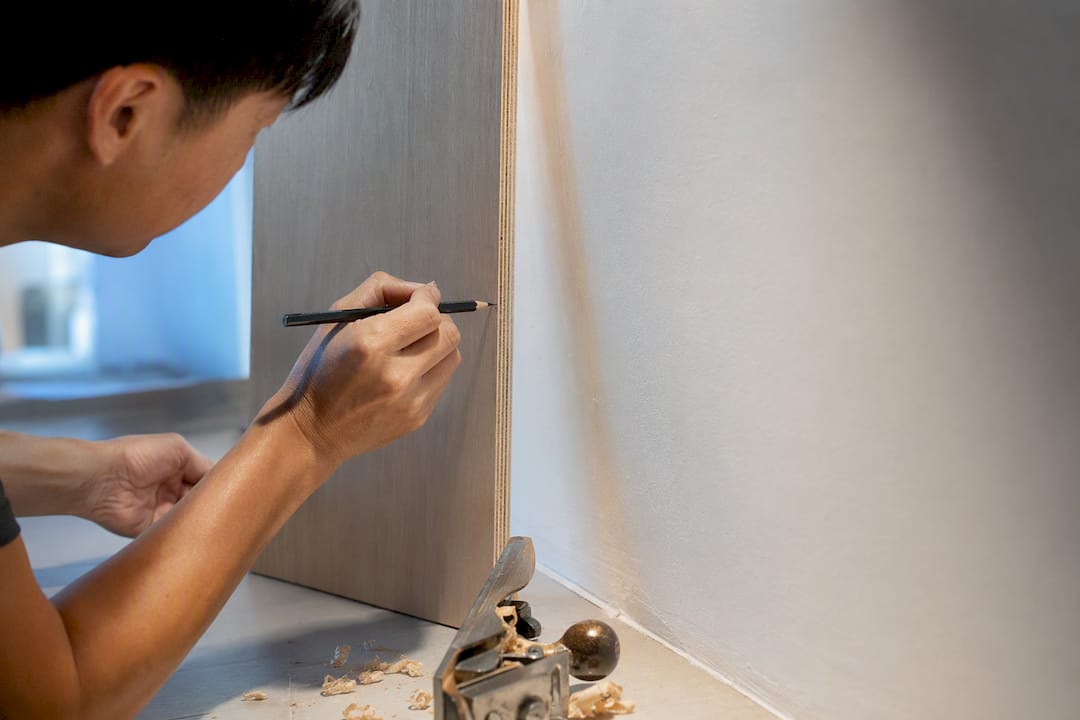
Shelf sag shows up months after installation, not on install day, which is why it catches people off guard. If a shelf bows under a full load of hardcovers, the span was likely too wide for the material thickness. Adding a solid-wood front lip or a center support after the fact can rescue a sagging shelf without a full rebuild.
Anchoring into the wrong material is another frequent issue. Drywall anchors alone cannot support a loaded bookshelf; every unit needs at least two to three screws driven into studs, and taller units need a ledger strip anchored across multiple studs for real stability.
Gaps between the unit and an uneven ceiling or floor are cosmetic but frustrating. Flexible caulk handles small gaps under a quarter inch. Anything wider needs a scribe molding piece rather than a thick bead of caulk, which will crack and yellow over time.
Finally, paint bleeding through caulk lines happens when builders paint before the caulk has fully cured. Waiting the full cure window before topcoating avoids the streaky, uneven look that makes an otherwise solid build look rushed.
Maintenance and Care Tips to Ensure Longevity
A well-built built-in bookshelf can last decades, but only with basic upkeep. Dust shelves regularly with a microfiber cloth rather than a feather duster, which just redistributes dust into the air and back onto the shelf within hours.
Check anchoring points once a year, especially in homes with foundation settling or seasonal humidity swings, since wood movement can loosen screws over time. A quarter turn on a slightly loose screw takes thirty seconds and prevents a much bigger problem down the road.
Watch for sagging shelves before they become visible bows. If you notice a shelf starting to dip in the middle, redistribute heavier books toward the ends or add support before the sag becomes permanent in the wood grain.
Touch up paint chips and scuffs as soon as you notice them. A small dab of matching paint on a fresh scuff blends in seamlessly; the same scuff left for months oxidizes and becomes visible even after touch-up.
Keep humidity in check. Solid wood and even quality plywood can warp in rooms with big humidity swings, so a basement or sunroom built-in benefits from a dehumidifier or air conditioning that keeps conditions steady across seasons.
Customization Options for Different Room Styles and Storage Needs
A built-in bookshelf adapts to nearly any room once you start customizing the details rather than the basic box. In a home office, pair open shelving with a built-in desk return for a unified workstation look, an approach Monarch carpenters’s home office built-in guide covers in more depth for combined desk-and-shelving layouts.
For a living room, consider a bookshelf with a ladder for tall wall-to-wall bookcase runs, which adds both function and a striking visual anchor. Kids’ rooms benefit from lower shelf sections within easy reach and closed cabinet storage up top for items you’d rather keep out of little hands.
Media rooms often combine open display shelving with concealed cable routing and a center bay sized for a television or speakers. Traditional homes lean into raised-panel doors and crown molding that echoes existing trim, while modern spaces often skip trim entirely in favor of flush, handleless cabinet fronts and a minimal shadow-line reveal instead of visible face frames.
Storage needs should drive material choice as much as style. Baskets and bins need deeper shelves and wider spacing; book collections do better with the standard 10 to 12 inch depth and tighter shelf spacing to avoid wasted vertical space.
Safety Tips for Installation and Use
Anchoring is the single most important safety step in any built-in bookshelf project. Every unit taller than about four feet should be secured to at least two wall studs, and freestanding-style units mimicking a built-in look need anti-tip brackets even after they’re pushed against the wall.
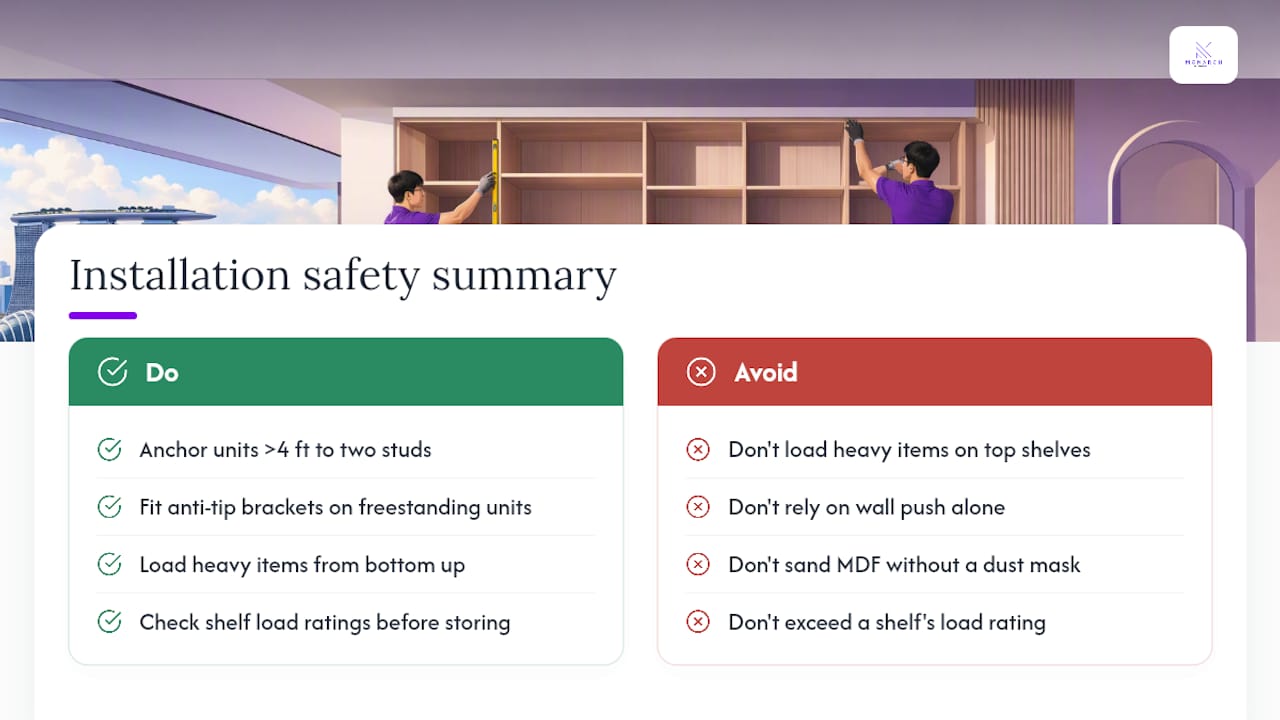
Weight distribution matters more than most people expect. Loading all your heaviest books onto the top shelf raises the unit’s center of gravity and increases tip risk, especially in units that aren’t fully anchored yet during a multi-day build. Load from the bottom up as you go.
Wear eye protection when cutting plywood or MDF on a table saw, and use a dust mask or respirator when sanding MDF specifically, since its fine dust is more irritating to lungs than solid wood dust. Keep a fire extinguisher nearby if you’re using a nail gun or power tools near painted surfaces with fresh solvent-based finishes.
Finally, double-check load ratings before storing anything unusually heavy, like vinyl records or a home safe, on built-in shelving. A shelf built for books at roughly 66 pounds per span isn’t necessarily rated for much heavier concentrated loads.
Lessons Learned From Built-In Projects
Three lessons come up again and again in built-in work. Measure twice, because a quarter-inch error compounds across a multi-bay run. Plan for trim early, not as an afterthought, since it’s what makes the unit read as architecture. And always anchor to studs with anti-tip hardware, because a beautiful bookshelf that tips is a liability, not a feature.
One retrofit that sticks with me involved a bay built slightly proud of an old, uneven baseboard. The fix wasn’t a rebuild. It was a simple scribe strip shaved to match the wall’s actual contour, which turned a frustrating half-inch gap into an invisible seam.
— Seth Wayne
Monarch Carpenters: Affordable Custom Bookshelf Design in Singapore
Monarch carpenters is the design-build alternative to guessing your way through a DIY built-in or overpaying a generic contractor for a project that doesn’t fit your room. We pair in-house designers with carpenters from the first sketch, which means the bookshelf you get is drawn for your exact wall, trim, and storage needs, not adapted from a stock template. Homeowners across our projects consistently tell us how great our design and feedback process is, and that we deliver that level of craftsmanship at a modest cost, not an inflated custom-carpentry premium.

If you’re weighing a full-wall library, a window-seat build, or a tricky alcove with uneven walls, our team can walk the space with you and sketch options before you commit to a material or budget. Visit our project planning guide for a sense of our design-build process, or request a consult through our website to get a quote tailored to your room.
Sources
If you’re ready to build, a few sources are worth bookmarking. Kreg Tool’s built-in bookshelf plan offers a complete cut list and pocket-hole assembly sequence, ideal if you want exact numbers rather than general guidance. Remodelaholic’s free plans include cut sheets sized to plywood along with support tips for wide spans. Young House Love’s build documentation shows a real project using stock cabinets as a cost-saving base, plus painting and cure-time advice. For installation professionalism benchmarks, the Kitchen and Bath Direct case study offers a useful look at how skilled trades document their process.
FAQ
Is It Cheaper to Buy or Build Bookshelves?
Building is usually cheaper for simple, single-bay units if you already own basic tools, but full custom built-in bookcase ideas with trim, paint, and structural anchoring often cost less overall through a design-build professional than buying premium prebuilt units and modifying them to fit.
How Much Would It Cost to Make Built-In Bookshelves?
A basic DIY plywood build for one or two bays typically runs a few hundred dollars in materials, while a full custom design-build installation costs more but includes structural anchoring, trim matching, and finish work a DIY project often can’t replicate.
Can I Get a Custom Built-In Bookcase?
Yes. A design-build studio like Monarch carpenters designs custom built-in bookcases around your exact wall dimensions, trim style, and storage needs, rather than fitting your room to a stock size.
Is It Difficult to Make Built-In Bookshelves?
A single alcove bay is manageable for a confident DIYer with a table saw, pocket-hole jig, and a stud finder, but full-wall runs, curved walls, or complex trim matching are difficult enough that most homeowners hire a professional.
Recommended
Comments