
Mood Lighting Design: A Practical Home Guide
- Monarch

- 2 hours ago
- 15 min read
TL;DR:
Mood lighting uses layered, adjustable light sources with warm colors to create specific emotional atmospheres in homes. Proper control, layering, and color temperature selection significantly influence mood, relaxation, and alertness. Integrated design-build approaches ensure seamless fixture placement, reducing rework and enhancing overall ambiance.
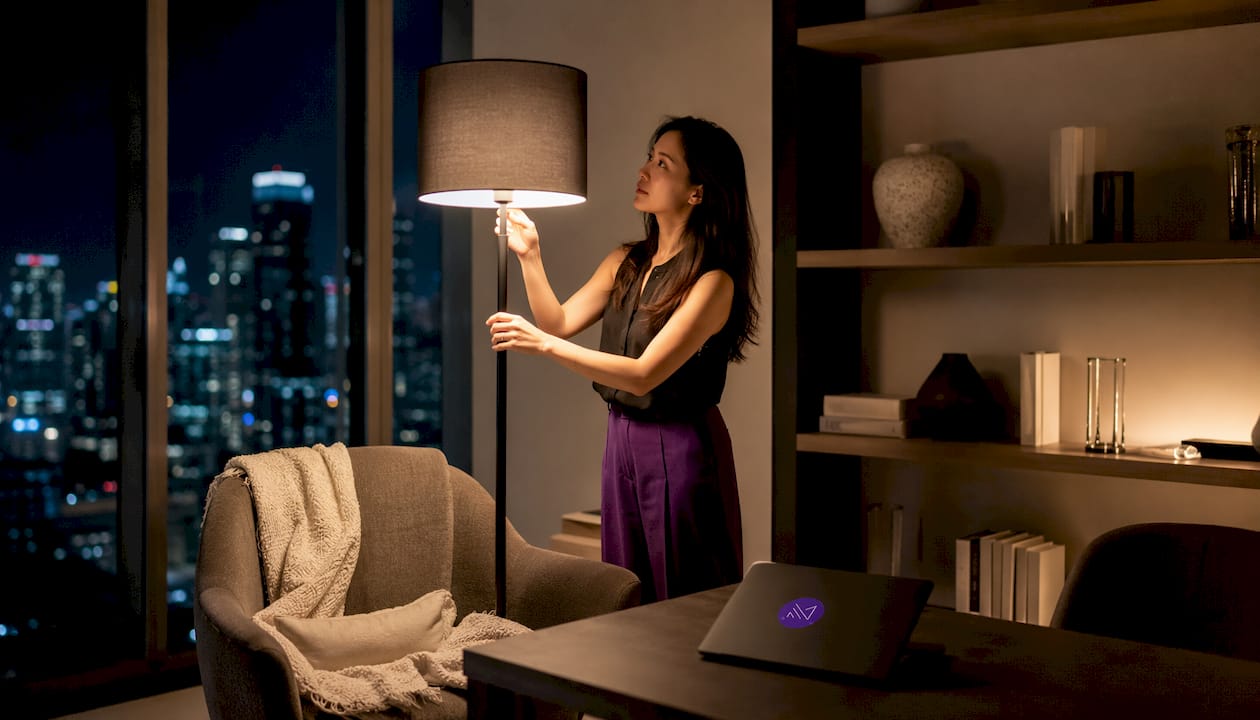
Mood lighting design uses layered light sources, color temperature, and dimming control to shape a room’s atmosphere and emotional response. According to Wikipedia, it works by adjusting specific colors or brightness levels to promote a desired state of mind. In practical terms, that means choosing bulbs in the warm color temperature range commonly recommended for cozy residential lighting, placing multiple light sources per room to create layering, and using a dimmer so you can shift the mood from energizing to relaxed in seconds. To test it tonight, swap one overhead bulb for a warm 2,700K LED, set a table lamp nearby, and dim both together. The difference is immediate.
Table of Contents
What is mood lighting design, and why does it matter?
Mood lighting design is the deliberate arrangement of light sources, intensities, and color temperatures to produce a specific emotional atmosphere in a space. It goes well beyond simply having enough light to see by. Architectural Digest describes lighting as the “jewelry” of a room, noting that it should be considered at the very start of a design process because it determines how textiles, finishes, and architecture actually read to the eye. Get the lighting wrong and even beautiful materials look flat. Get it right and a modest room feels considered and complete.
The practical goal is control: the ability to shift a room from bright and functional to warm and intimate without moving a single piece of furniture.
How lighting shapes your mood and physiology
Light is one of the most direct environmental inputs to human psychology and biology. Research published in PMC confirms that light affects alertness, mood, and behavioral state through specialized retinal cells called intrinsically photosensitive retinal ganglion cells (ipRGCs), which feed signals to the brain’s mood and circadian systems. The practical implications for homeowners are significant.
Cool, blue-toned light (above 4,000K) increases alertness and focus, making it well-suited for a home office during working hours.
Warm, amber-toned light (2,700K–3,000K) promotes relaxation and is ideal for living rooms, bedrooms, and dining spaces in the evening.
Evening exposure to bright blue light can suppress melatonin and disrupt sleep cycles, according to Psychology Today.
Color also plays a role beyond temperature. A controlled study with 101 participants found that blue light elicited favorable affective responses and a sense of calm, while red light produced stronger arousal and more negative affect overall. Purple and blue tones tend to support tranquility; red and orange can increase perceived warmth but should be used carefully in residential settings.
Statistic callout: A peer-reviewed study found significant mood differences across six lighting colors, with brighter and bluer lights most strongly affecting alertness and behavioral state in humans.
The three lighting layers every room needs
Layering is the baseline of mood lighting design. Without it, a room relies on a single source that cannot serve multiple purposes or moods. The three layers are ambient, task, and accent, and each plays a distinct role.
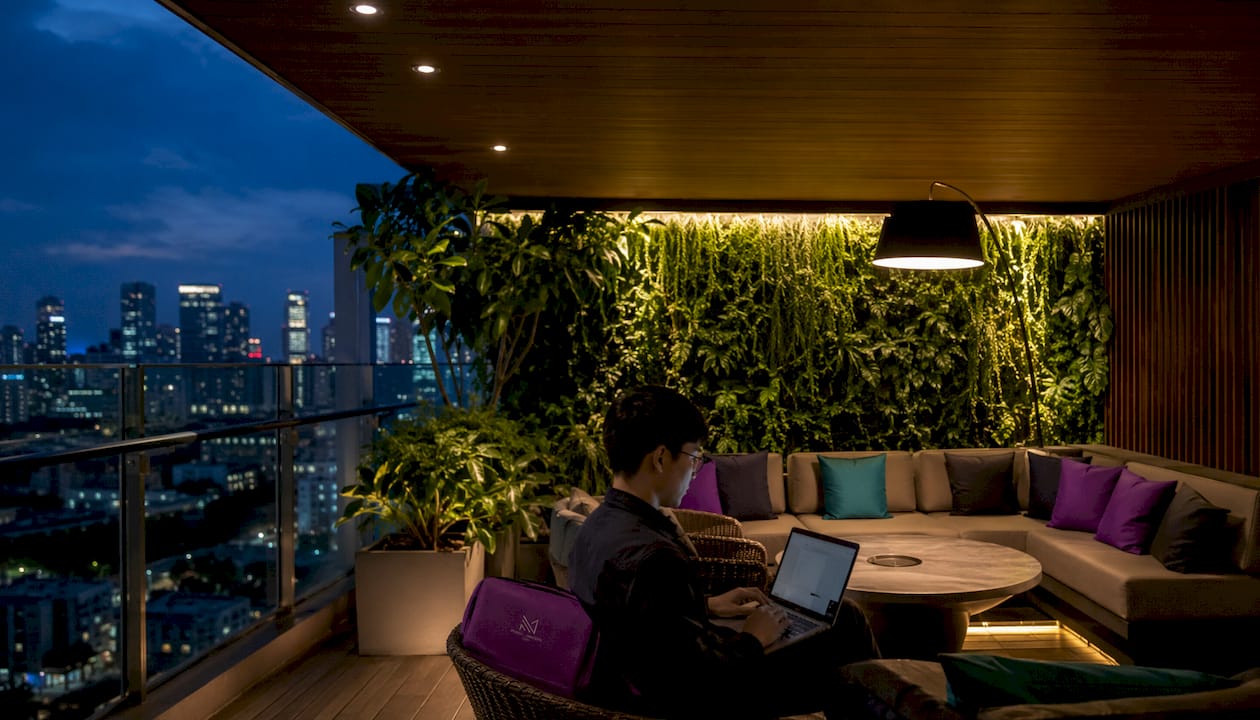
Ambient lighting is the room’s general illumination. Think recessed downlights, a central pendant, or a ceiling fixture. It sets the baseline brightness and should be dimmable.
Task lighting targets a specific activity zone: a reading lamp beside an armchair, under-cabinet lights in the kitchen, or a desk lamp in the home office. It adds focused brightness without raising the whole room’s light level.
Accent lighting creates drama and focal contrast. A picture light over artwork, a strip light inside a bookcase, or an uplighter behind a plant all qualify. Its job is to draw the eye and add depth.
The key rule: wire each layer to an independent switch or dimmer so you can activate any combination. A quick room audit: count your controllable sources. If you have fewer than two, the room lacks the flexibility for real mood control.
What color temperature, lumens, and CRI mean for your bulbs
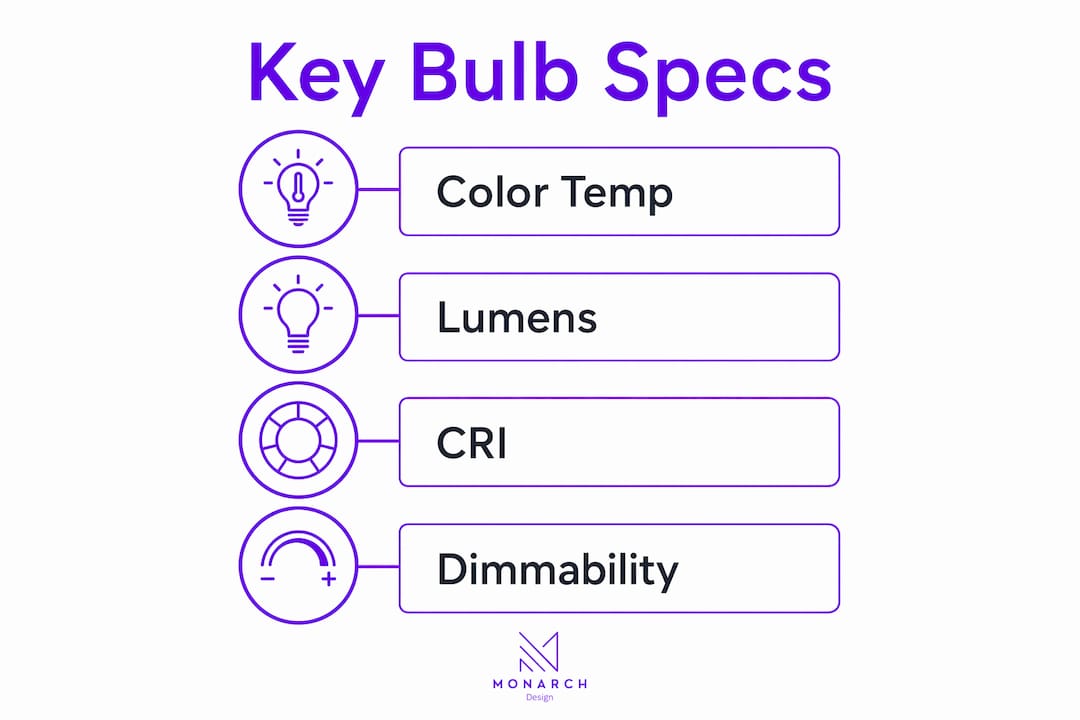
These three specs determine whether a bulb actually delivers the mood you want.
Kelvin range | Character | Typical room use | Approx. lumens for a standard room |
2,700K | Warm white, amber | Bedroom, living room, dining | 800 lm per bulb |
3,000K | Soft white | Kitchen, bathroom, hallway | 800–1,600 lm per bulb |
3,500K–4,000K | Neutral to cool white | Home office, utility room | 1,600 lm per bulb |
5,000K | Daylight | Garage, workshop, task areas | — |
Architectural Digest recommends keeping residential color temperatures below 3,000K, with 2,700K cited as the sweet spot for a cozy residential glow. As a quick conversion rule, a 60-watt incandescent equivalent produces roughly 800 lumens; a 100-watt equivalent produces around 1,600 lumens.
CRI (Color Rendering Index) measures how accurately a light source renders colors compared to natural daylight, on a scale of 0–100. Aim for CRI 80 or above for general residential use. If you have artwork, high-quality finishes, or textured materials you want to show off, choose CRI 90+ for accurate, flattering color rendering.
Which fixtures to choose and where to place them
Pick fixtures that produce diffused, layered light and avoid bare exposed bulbs, which create glare and flatten a room’s depth. The goal is pools of light at different heights, not a single bright ceiling plane.
Sconces: Mount at roughly 60–66 inches from the floor, flanking a mirror, bed, or sofa. They cast a soft side-wash that adds dimension without overhead harshness.
Pendants: Hang 30–36 inches above a dining table surface, or 7 feet from the floor in a kitchen. They anchor a zone and create an intimate ceiling height.
Floor and table lamps: Wall lights, floor lamps, and table lamps are the most versatile mood tools. Floor lamps create defined pools; table lamps add intimacy at eye level when seated.
Recessed downlights: Best for ambient fill, not as a sole source. Space them 4–6 feet apart and always pair with a dimmer.
LED strip lights: Ideal for accent work inside cabinetry, under toe-kicks, or along a cove. They disappear into the architecture and add glow without visible fixtures.
For types of interior lighting designs, mixing fixture styles across a room creates a collected, high-end feel. Repeat the same metal finish (brushed brass, matte black, satin nickel) across at least two to three sightlines to tie the room together without matching everything exactly.
Pro Tip: Photograph your room at night with your phone camera. The camera’s sensor exaggerates dark patches and glare, making problem areas obvious. Fix those spots first before buying new fixtures.
Dimmers, smart controls, and tunable white options
The dimmer switch is the single most valuable investment you can make for mood lighting. Layering and dimming control give you more flexibility than any fixture upgrade alone. Here is how the main options compare.
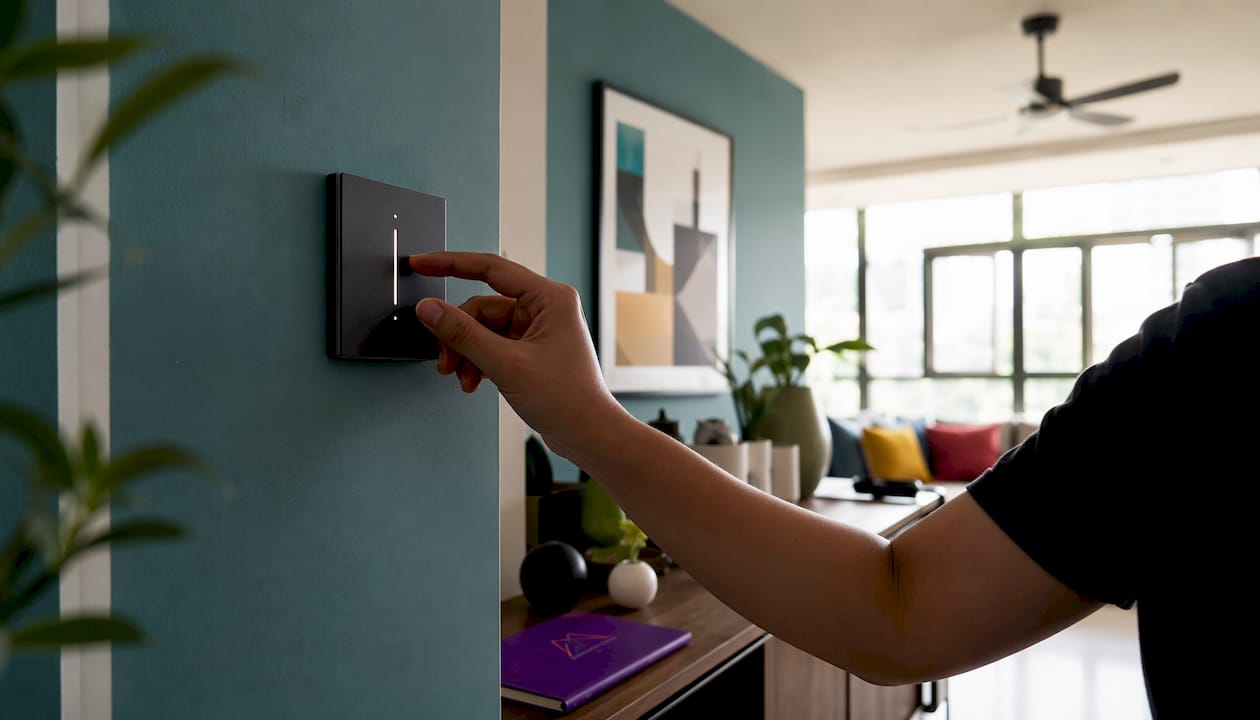
TRIAC dimmers are the standard wall-mounted type and work with most dimmable LED and incandescent bulbs. Always check that your bulbs are labeled dimmable before installing one; non-dimmable LEDs will flicker or fail.
ELV (Electronic Low Voltage) dimmers suit low-voltage LED drivers and are common in newer construction. They tend to produce smoother dimming curves.
Smart dimmers and smart bulbs (Lutron Caseta, Philips Hue, LIFX) let you save scenes, schedule lighting changes, and control everything from a phone or voice assistant. For smart lighting installation, the main compatibility caveat is that smart bulbs and smart dimmers should not be used together on the same circuit, as they can conflict. Choose one or the other.
Tunable white bulbs shift color temperature from warm to cool on demand, making them ideal for spaces that serve multiple purposes throughout the day. A home office that needs 4,000K focus light at noon and 2,700K wind-down light at 8 PM benefits enormously from tunable white.
Useful scene presets to program: Dinner (2,700K, 30–40% brightness), Reading (3,000K, 70%), Movie (2,700K, 10–15% accent only), Wake (gradual ramp from 2,700K to 3,500K over 30 minutes).
Room-by-room mood lighting setups
Each room has a purpose-driven mood palette. The table below gives a quick reference; the notes below it add the details that make the difference.
Room | Kelvin range | Key fixture types | Control priority |
Living room | 2,700K–3,000K | Floor lamp, table lamp, sconces, recessed (dimmed) | Multi-scene dimmer |
Bedroom | 2,700K | Bedside table lamps, wall sconces, strip (cove) | Separate switches per zone |
Kitchen | 3,000K | Under-cabinet, pendant, recessed | Dimmer on pendants |
Dining room | 2,700K | Pendant over table, candles, buffet lamp | Dimmer essential |
Bathroom | 2,700K | Vanity side lights, recessed (dimmed) | Dimmer + night light |
Home office | 4,000K | Desk lamp, recessed, tunable overhead | Tunable white |
Outdoor | 2,700K–3,000K | Path lights, uplighters, string lights | Timer or smart switch |
Living room: Aim for at least three sources at different heights. A floor lamp in one corner, a table lamp on a side table, and dimmed recessed lights give you the range to go from bright and social to quiet and relaxed.
Bedroom: Keep it warm and low. Bedside lamps at 2,700K with individual switches on each side of the bed are the practical baseline. A cove strip light behind the headboard adds a soft glow that reads as architectural.
Kitchen: Task lighting matters here as much as mood. Under-cabinet LEDs at 3,000K illuminate the counter without washing out the room. Pendants over an island at 2,700K–3,000K soften the space when cooking is done.
Integrating natural light: Pair your artificial scheme with daylight by placing lamps near windows to extend the warm-light effect into the evening. During the day, natural light home design strategies like sheer curtains and light-reflective surfaces reduce the contrast between daylight and artificial sources, making transitions smoother.
When to plan lighting, and what it costs
Early planning with a design-build approach consistently yields better results and better value. Lighting decisions made after walls are closed require expensive rework; decisions made at the rough-in stage cost a fraction of the same change made later.
Timeline for a typical lighting upgrade or remodel:
Planning and specification: 1–2 weeks (fixture selection, switch layout, dimmer compatibility check)
Procurement: 1–3 weeks depending on lead times for custom or specialty fixtures
Electrical rough-in: 1–3 days for a single room; 1–2 weeks for a full home rewire
Fixture trim and installation: 1–2 days per room
Commissioning and scene programming: Half a day to a full day for smart systems
Ballpark cost ranges (US market):
Simple upgrades (swap bulbs to warm LEDs, add plug-in dimmers, add a table lamp): $50–$300 per room, DIY-friendly.
Mid-level upgrades (new fixtures, hardwired dimmers, partial rewiring): $500–$2,500 per room depending on electrician rates and fixture quality.
Full lighting-driven remodel (new circuits, recessed layout, smart system, custom cabinetry integration): $5,000–$20,000+ for a whole home, varying widely by market and scope.
Permits are required for new circuits and panel work in most US jurisdictions. Swapping fixtures on existing circuits typically does not require a permit, but always confirm with your local building department. For anything beyond bulb and dimmer swaps, hire a licensed electrician.
Common lighting mistakes and how to fix them fast
The most common mistake is relying on a single overhead source. One ceiling fixture flattens a room, creates harsh shadows on faces, and offers no flexibility for different activities or times of day.
Flat, shadowless light: Caused by recessed lights spaced too tightly or a single bright overhead. Fix: dim the overhead to 30–40% and add a floor or table lamp to create contrast.
Wrong color temperature: Cool white bulbs (4,000K+) in a living room or bedroom feel clinical and make warm finishes look gray. Fix: replace with 2,700K dimmable LEDs. The swap takes five minutes and costs under $20 per bulb.
No dimming: A room that can only be fully on or fully off has no mood range. Fix: install a plug-in dimmer module ($15–$30) on a table lamp as a first step, then upgrade to a hardwired dimmer when budget allows.
Mismatched color temperatures: Mixing a 2,700K lamp with a 5,000K overhead in the same room creates visual discord. Fix: audit every bulb in the room and standardize to one temperature range.
When swapping bulbs, choose Energy Star-certified LEDs. They use roughly 75% less energy than incandescent equivalents and last significantly longer, reducing both cost and waste over time.
A step-by-step plan to test your mood lighting scheme
Measure the room and sketch a simple floor plan noting windows, doors, and existing outlet/switch locations.
Audit existing sources: list every light in the room, its Kelvin rating (check the bulb packaging), and whether it is dimmable.
Identify gaps: mark zones with no light source within 4–5 feet. Those are your first targets for a new lamp or fixture.
Buy warm, dimmable LEDs at 2,700K and CRI 80+ to replace any cool or non-dimmable bulbs. Pick up a plug-in dimmer module for at least one lamp.
Place a floor or table lamp in the darkest corner of the room and turn off the overhead. Note how the room feels.
Run an A/B test: overhead only vs. lamps only vs. both dimmed together. Do this at three times of day (midday, early evening, late evening) and note which combination feels best for each.
Check with a phone camera at night. Dark patches and glare show up clearly. Adjust lamp placement until the light distributes evenly across the room’s lower half.
Document and save: write down the winning combination (which sources, at what dimmer level). If you have smart controls, save it as a named scene.
Testing checklist: natural light level at time of test; comfort reported by others in the room; camera check for glare and dark patches; color accuracy of finishes under the chosen bulbs.
How Monarch carpenters integrates mood lighting into a design-build project
Integrated design-build embeds lighting decisions early, which produces better outcomes and avoids the costly rework that comes from treating lighting as an afterthought. Monarch carpenters follows a coordinated process where designers and carpenters align fixture rough-ins with joinery from the very first concept stage, so built-in lighting and custom cabinetry work together rather than competing for the same wall space.
The process runs in five stages: client brief (understanding how each room is used and what atmosphere the client wants); concept lighting plan (fixture types, Kelvin selections, switch layouts, and scene programming mapped to the brief); cabinetry and fixture coordination (strip lighting integrated into shelving, toe-kick lights, and cove details resolved before walls close); electrical rough-in (wiring and switch positions confirmed with the carpenter’s drawings); and commissioning (scenes programmed, dimmers calibrated, and the client walked through every setting).
The client benefits are concrete: fewer visible cords, coordinated sightlines between joinery and fixtures, and predictable costs because decisions are made before expensive rework becomes necessary. Clients consistently highlight the combination of considered design and modest cost as what sets Monarch carpenters apart.
Questions to ask any design-build team before signing:
Can you show me a lighting plan from a previous project?
How do you coordinate fixture rough-ins with cabinetry drawings?
Who handles the electrical specification, and do you work with a licensed electrician?
How do you handle changes to the lighting plan after rough-in?
Can I see examples of integrated strip or cove lighting in completed projects?
How wall and paint colors interact with your lighting choices
Color temperature and wall color are in constant conversation. A warm 2,700K bulb will deepen a terracotta or ochre wall into something rich and inviting, but it will also push a cool gray toward a muddy, greenish tone. Understanding this interaction saves you from expensive repaints.
Light-colored walls (white, cream, pale gray) reflect more light and amplify the effect of whatever bulb you choose, making color temperature selection especially important. Dark walls absorb light and require more sources or higher lumen output to maintain the same perceived brightness. Color psychology in home design shows that the same paint color can read as warm or cool depending entirely on the light source in front of it.
A practical rule: always test paint samples under your actual artificial lighting, not just in daylight. A swatch that looks perfect at noon may look completely different at 8 PM under your existing bulbs. For interior color scheme planning, choose your lighting temperature first, then select paint colors under that light.
Energy efficiency and sustainability in mood lighting
LED technology has made energy-efficient mood lighting genuinely accessible. A quality dimmable LED at 2,700K and CRI 90+ costs under $10 per bulb and uses a fraction of the energy of the incandescent it replaces, with a rated lifespan measured in years rather than months.
Dimming extends bulb life further: running an LED at 70% brightness rather than 100% can meaningfully increase its operational lifespan. Smart controls add another layer of efficiency by allowing schedules and occupancy-based automation, so lights are not running in empty rooms.
When selecting fixtures, look for the Energy Star label, which certifies that the product meets EPA efficiency and performance standards. For a full home, replacing all incandescent and halogen bulbs with Energy Star-certified LEDs reduces lighting energy use substantially, and the payback period on the bulb cost is typically under two years at average US electricity rates.
Sustainability also means buying fewer, better fixtures rather than accumulating cheap ones. A well-chosen sconce or pendant that works with your room’s architecture for a decade is a more sustainable choice than cycling through trend-driven fixtures every few years.
Key Takeaways
Mood lighting design works best when you layer sources, control each layer independently, and choose warm color temperatures that match how each room is actually used.
Point | Details |
Layer your light sources | Use ambient, task, and accent lighting together; aim for at least 2–3 controllable sources per room. |
Use warm Kelvin values | Residential spaces feel best at 2,700K–3,000K; reserve 4,000K+ for home offices and task areas. |
Install dimmers first | A dimmer switch is the single most valuable mood lighting investment before any fixture upgrade. |
Plan lighting before walls close | Early coordination in a design-build process avoids costly rework and delivers integrated results. |
Monarch carpenters | Monarch carpenters embeds lighting coordination into its design-build workflow for seamless, cost-conscious results. |
The lighting decision most homeowners get backwards
Most people buy furniture, choose paint, and then think about lighting. That sequence almost guarantees a compromise. Lighting should be the first design decision, not the last, because it determines how every other element in the room reads. A beautiful sofa in flat overhead light looks ordinary. The same sofa under a warm, layered scheme with a floor lamp and a dimmed pendant looks like it belongs in a magazine.
The other thing homeowners consistently underestimate is how much control matters relative to fixtures. A $30 dimmer and a $9 warm LED bulb will do more for a room’s atmosphere than a $400 pendant on a non-dimmable circuit. Start with control, then invest in fixtures once you know exactly what each zone needs. The clients who get the best results, including those who work with Monarch carpenters and consistently praise the quality of the outcome relative to the cost, are the ones who treat lighting as a system rather than a shopping list.
Monarch carpenters brings mood lighting design to life
Getting mood lighting right from the start is far easier when design, carpentry, and electrical coordination happen under one roof. Monarch carpenters offers exactly that: a collaborative design-build process where lighting plans are developed alongside custom joinery, so strip lights land inside cabinetry, cove details are built into the architecture, and every fixture position is confirmed before a single wall closes.

Clients who have worked with Monarch carpenters regularly highlight two things: the quality of the finished result and the transparency of the cost. There are no surprise change orders from late-stage lighting decisions, because those decisions are made at the concept stage. Whether you are planning a single-room refresh or a full residential renovation, Monarch carpenters brings the same meticulous, cost-aware approach to every project. Get in touch with Monarch carpenters to discuss your lighting brief and start building a scheme that works for your home.
FAQ
What exactly is mood lighting?
Mood lighting is the use of specific light sources, color temperatures, and brightness levels to create a desired emotional atmosphere in a space. It relies on layering ambient, task, and accent light rather than relying on a single overhead source.
What is a practical example of mood lighting at home?
A dining room with a dimmed pendant at 2,700K over the table, a buffet lamp on a sideboard, and candles on the table is a classic mood lighting setup. Each source adds depth and warmth without any single light dominating.
How does mood lighting differ from regular lighting?
Regular lighting prioritizes visibility and uniform brightness. Mood lighting prioritizes atmosphere, using layered sources, warm color temperatures, and dimming control to create contrast, depth, and emotional comfort rather than flat, even illumination.
What is the best color temperature for mood lighting?
For most residential spaces, 2,700K is the most widely recommended color temperature for mood lighting, producing a warm, amber-toned glow that promotes relaxation. Home offices and task areas benefit from 3,500K–4,000K during working hours.
Can Monarch carpenters help with mood lighting in a renovation?
Yes. Monarch carpenters integrates lighting planning into its design-build process from the concept stage, coordinating fixture placement, cabinetry, and electrical rough-in together to deliver seamless results at a predictable cost.
Useful sources
How Does Light Regulate Mood and Behavioral State? (PMC) — Peer-reviewed research on ipRGCs, circadian effects, and how light properties influence mood and alertness in humans.
Mood Lighting 101: Expert Tips on How to Illuminate a Home (Architectural Digest) — Designer best-practice guidance on Kelvin selection, layering, and treating lighting as a design priority.
5 Ways Indoor Lighting Can Change Your Mood (Psychology Today) — Accessible summary of the psychological and circadian effects of cool vs. warm light for everyday home decisions.
An Experimental Investigation into the Influence of Colored Lighting on Perceived Spatial Impressions (MDPI Buildings) — Controlled study with 101 participants on how different light colors affect affective responses and spatial perception.
Ultimate Guide: What Is Mood Lighting and How to Use It (The Home Lighter Inc.) — Practical showroom guide covering dimmer types, CRI selection, and dimmable bulb compatibility.
How to Create Mood with Lighting: 7 Expert Tips (Pooky) — Fixture-specific guidance on using wall lights, floor lamps, and table lamps to build atmosphere.
Recommended
Comments